six months ago (don’t hate because i’m so behind on things) i made a chicago sports themed t-shirt blanket for the baby shower of this handsome little man.
for baby showers, i always like to give something homemade (for a personal touch) along with something from the registry (for a practical touch). as our friend john, the dad, is a huge chicago sports fan, and they were expecting a little boy, the idea for the blanket was sparked when i saw another friend’s t-shirt blanket (theirs was a bit more complicated and larger, this is my simple version).
the blanket is fairly simple, especially since you don’t need to bind it. the hardest part may be collecting enough t-shirts to use! if you don’t have a bunch of extras lying around, like me, the thrift store is a great place to find them (and of course wash before you make the blanket, please). or you could ask friends and family to donate old shirts, so the blanket will be even more special.
(note: the size of the blanket is really up to you and your materials – the number of shirts available and the size of the squares from them, and the width and length of your backing fabric).
step 1. gather t-shirts to be used. the amount of t-shirts needed depends on the size of the blanket (or, the amount of t-shirts gathered decides the size of the blanket! i gathered about 16 shirts, and used 12 for the blanket)
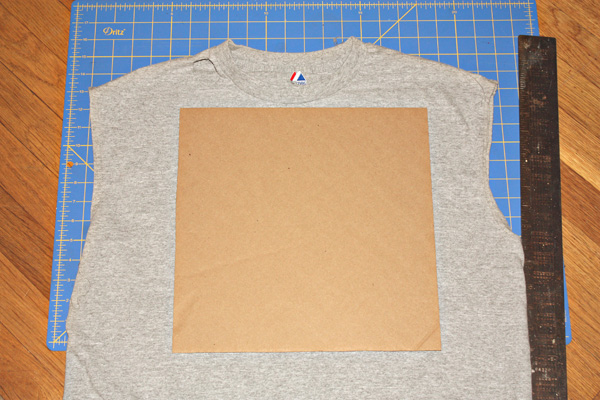
step 2. decide how large you want each t-shirt square to be and make a template for easy measuring. the size of the t-shirts determines the largest size possible (the area below the neck and between the sleeves). i found the smallest t-shirt i wanted to use and made the biggest square possible out of it, to be used for all other t-shirts.
step 3. use the template to cut squares of the t-shirts (i also used a straight edge for extra strength and my rotary cutter).
step 4. arrange your t-shirt squares to find the pattern you like. i laid mine down on my backing fabric (blue, soft minky, one of my favorites) to check how many across and long would fit.
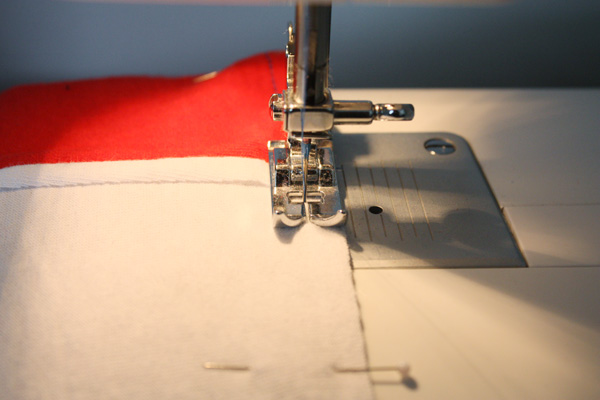
step 5. flip over one square onto the square next to it, so the right sides are together. pin along the inner edge (the edge that joins the squares within the blanket – not a top, bottom or outer edge). sew along the pinned edge (i used a 1/4″ seam allowance).
step 6. open the two squares you just sewed, and repeat step 5 with the next square in the row. do this for all squares in your row (if it’s only 3 like me, the row is done; ignore my upside down squares below).
step 7. follow steps 5 and 6 for all rows. 
step 8. flip one row on top of the one below or above it, so the right sides are together. pin along the inner edge and sew, making sure to open the row seams so they lay flat.
step 9. repeat step 8, attaching all rows together. you will end up with one large piece, the front of your blanket.
step 10. lay the back fabric right side up, and the t-shirt front right side down on top. pin all around and sew (again i used a 1/4″ seam allowance), back stitching at the beginning and end. make sure to leave an opening to turn it right-side out – i left the length of a square unsewn.
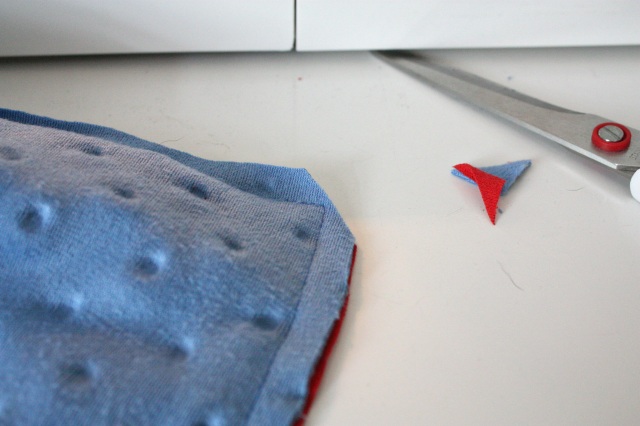
step 11. trim the corners and turn right-side out through the opening.
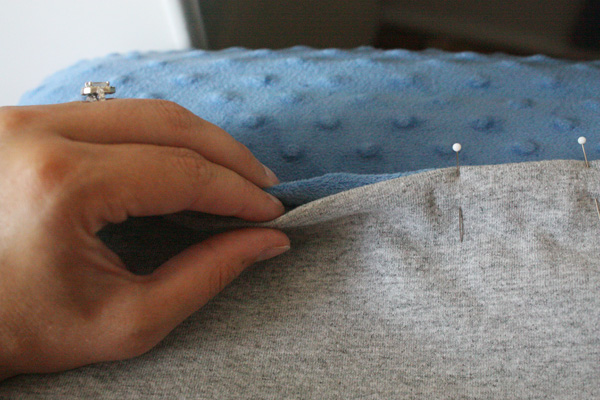
step 12. pin opening shut, folding in fabric to match seam allowance. sew around entire blanket perimeter, back stitching at beginning and end.
done!
both the back and the front are so soft, perfect for cuddling.
one of my favorite t-shirts was too small to be used in the blanket, so i whipped up an easy burp cloth out of it. after trimming the shirt to size, i cut a piece of terry cloth fabric the same size for the back. with right sides pinned together, i sewed around the edge, leaving an opening a few inches wide. after turning right side out, i turned in the opening edges to match the seam allowance, pinned, and sewed around the entire edge. done!
happy sewing!
though i have plans to make my son a chenille blanket, ryan has informed me that he also needs a chicago sports t-shirt blanket of his own. i need to start collecting the shirts now…
{justine}
linked to remodelaholic


Thank you!! I LOVE this
thanks cookiemomma!
It’s so boy and so cute!!! Something else to add to your to-do-list!
Such a great auntie you are and soon to be mommy. I love that you add a personal and practical touch to a baby shower.
Pingback: ruffles and appliques: burp cloths | you're so martha
What was the backing you used for the tshirt blanket?
hi. it was a soft fabric from joann fabrics, found in their nursery/baby fabric section. here’s a link to it: http://www.joann.com/soft-n-comfy-bubble-velour-fabric-many-colors/prd33722/ you can use whatever fabric you’d like though – for my next one, i’ve bought some jersey fabric to mimic the t-shirts on the front.
How big are you squares?
hi micaela, i believe my squares were 12 or 13″ for this blanket. it all depends on the shirts you use and how big you personally prefer – there’s no specific size needed for it to work.
Thank you SO MUCH for the wonderful tutorial! You made it look so easy–and it really was.
I used fleece from Malden Mills for the backing–they sell what they call “throws” which are unedged, Polartec fleece (made in the USA) and measure 60″x81″. I guess they’re, like, the ends of rolls or something, but they’re plenty big enough. Some people on the internet complain about the fleece from China, with chemicals and stuff, so I feel good about using this.
I decided to alternate the direction of the squares, so some are right-side-up whichever way you’re facing the blanket.
It only took me 2 days to do (with 20, 12″ squares) and it’s gorgeous. Thanks again for the inspiration–you’re a star!
thank you, miriam, for the wonderful comment! i’m so glad you found this helpful. and, i love love love your idea of alternating the direction of the squares – genius!
Hi,
My daughter is trying to do this to raise money for a school trip. We started it and used interfacing ironed on to the back of the t-shirts. A lot of other tutorial say to do that. This was very time consuming and wondering if we can skip that step and just sew the shirts together like you did. Do the shirts sew together ok being that they are stretchy?
hi, kristi,
i didn’t use interfacing on either of the blankets i’ve done so far, and haven’t had an issue yet. t-shirt material is stretchy, which is a little more difficult to work with than non-stretchy materials, but if you pin the shirts together and take your time to make sure you’re not stretching it while sewing, it sews just fine. good luck!
i’m so excited about this idea! I’m planning on making one of these blankets for my dad who just started chemo. I’m having all of my siblings, their spouses and their children give me one shirt each, which will be a total of 21 shirts. None of us live close enough to be with him through this difficult time so i’m hoping it will be a comforting blanket to him. Thanks for making this project seem doable!!!!
what a fantastic idea, trina! i’m so happy to have provided doable inspiration for this special project. i’m sure your dad will love such a heartfelt gift. best of luck to him and your family.
You can also use the back of the t-shirts for the back of the blanket . You don’ t waste any of the shirt and don’t have to buy any material .
Hey, maybe I missed it along the way… but did you have any spots (besides the edge of the blanket) where the front connects to the back?? Like maybe a few corners of a few of the shirts??
On this blanket I did not, as it’s a smaller blanket and I didn’t have any issues with it shifting and such. I have made a couple large blankets with this method since and ending up sewing across the blanket on both sides of the seams where the rows of the t-shirts meet. Does that make sense? (kind of ladder-like, though there’s two lines maybe a 1/2 inch or inch apart for every rung) I could have done vertical columns as well (along all t-shirt seams), but I liked the more modern look of just horizontal quilted lines.